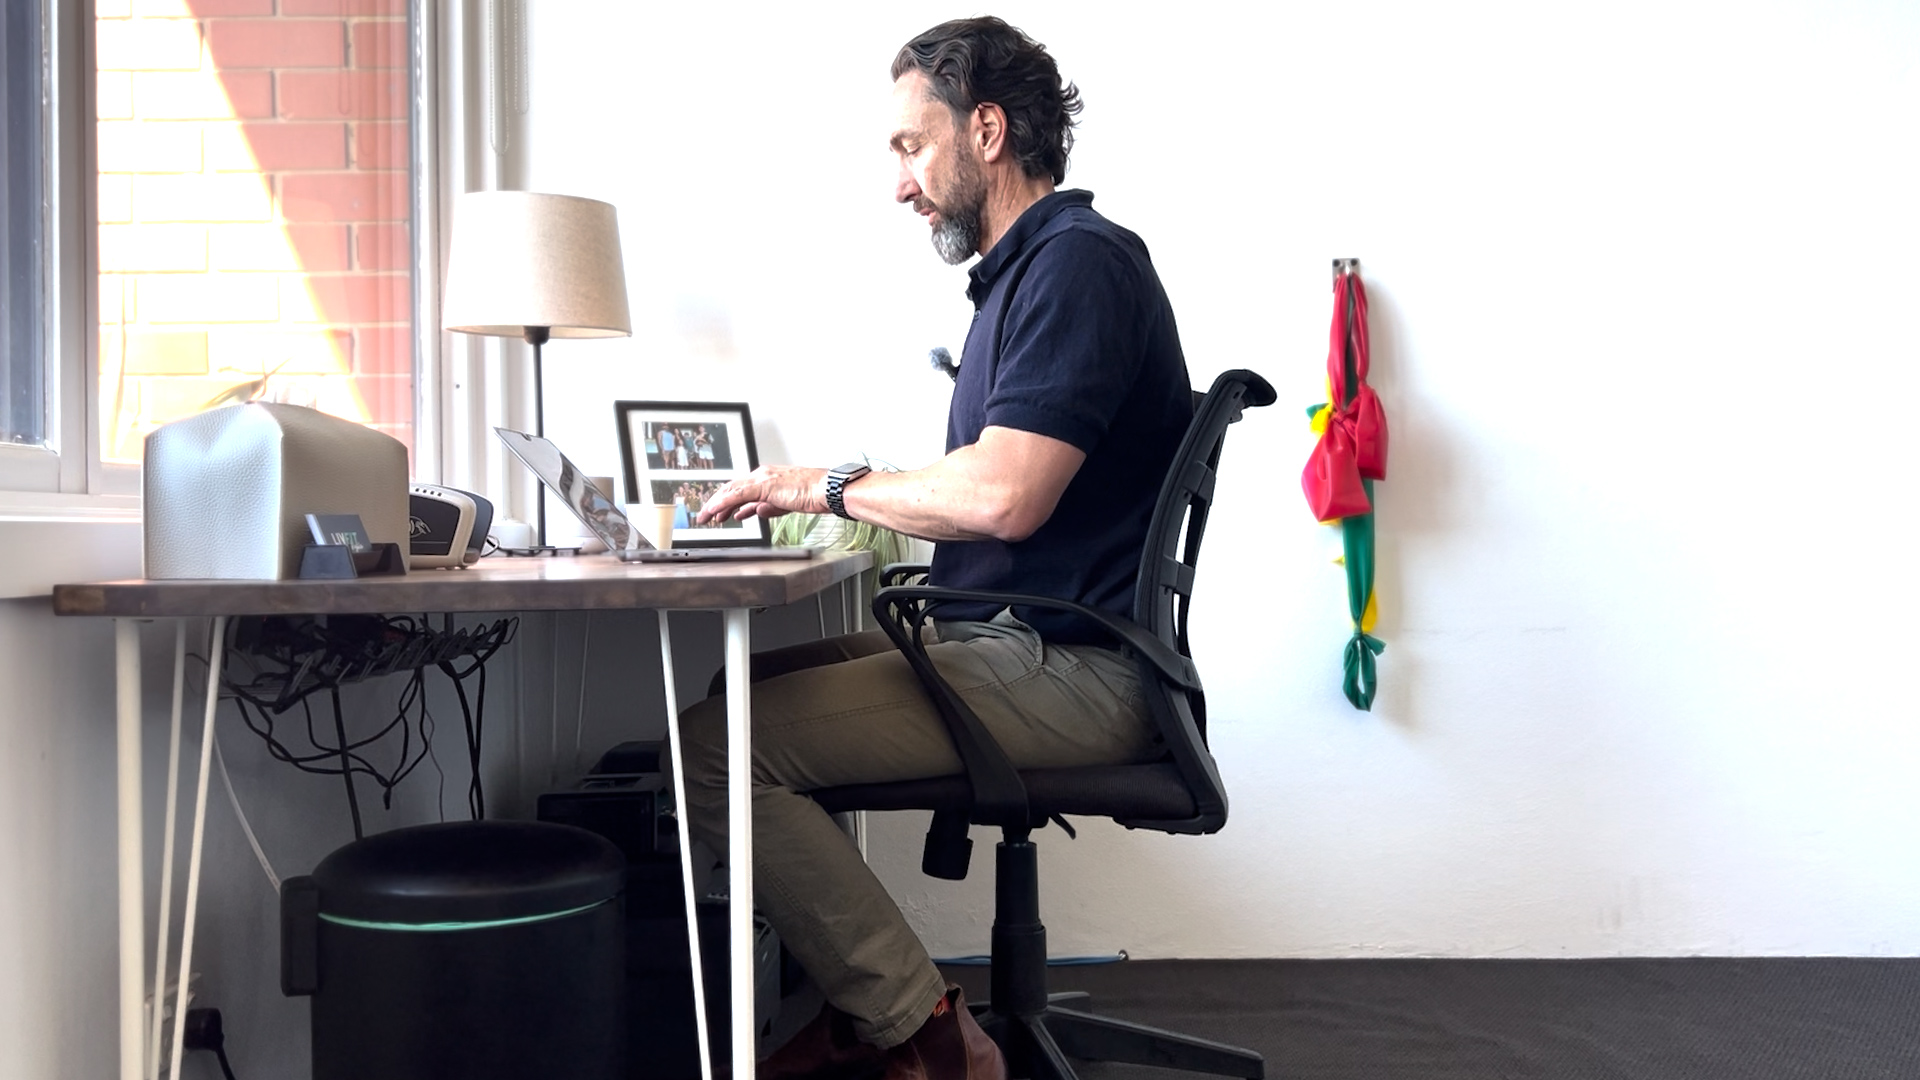
The Ultimate Desk Set-Up Guide for Better Posture & Less Pain
At LivFit Physio, we see more neck, back, and shoulder problems from poor desk set-up than almost anything else. The good news? With a few simple changes, you can protect your spine, reduce muscle tension, and stay more comfortable at work.
Here’s our step-by-step guide to creating the perfect ergonomic desk set-up. For an instructional video – click here – Desk Set-Up Guide
Step 1: Adjust Your Chair
- Height (non-adjustable desk): Raise your chair so your elbows sit slightly higher than your hands when typing.
- Height (adjustable desk): Start by planting your feet flat on the ground, then adjust the desk so your elbows are just above your hands.
- Backrest: Position the lumbar curve of the chair into the small of your back. Leave around a two-finger gap between the back of your knees and the seat edge.
- Armrests: If they stop you pulling close enough to the desk, remove them. Being able to sit close so your elbows stay by your sides is essential.
- Foot support: If your feet don’t reach the floor comfortably, use a footstool, stack of books, or similar support.
Good chair set-up prevents slouching, poked-chin posture, and pressure on your spinal discs.
Step 2: Position Your Desk & Keyboard
- Keyboard: Keep it directly in front of you so you can type with elbows close to your body.
- Mouse: Keep it within easy reach, not stretched out to the side.
- Keypad: If your keyboard has a number pad that pushes your mouse too far away, swap to a compact keyboard or use a detachable number pad.
Most people place their keyboard too far away – pulling them into a slumped, chin-forward position.
Step 3: Set Up Your Screen
- Place your screen about arm’s length away.
- The top of the screen should be at eye level.
- Use books or a laptop stand if needed. If you use a laptop, pair it with an external keyboard and mouse for best posture.
Step 4: Consider a Standing Desk
- Adjust the desk so your elbows are just higher than your hands while typing.
- Aim for a 40:20 ratio – sit for 40 minutes, stand for 20 minutes.
- Switch positions every hour. Movement is key.
- If a full standing desk isn’t an option, try a desk converter or even a solid box for your laptop.
Step 5: Build Healthy Desk Habits
- Sit upright – use your lumbar support, don’t lean back and slump.
- Keep work within “T-Rex range” – elbows by your sides. If you need to reach further, stand up and move.
- Move often – every 20 minutes is ideal. Set reminders or place items like your phone and water bottle out of reach.
- Stretch & exercise – use resistance bands or our LivFit Physio exercise programs during your day to keep blood flowing and muscles active.
Quick Check
Once a month, reset your workstation. Small shifts over time can creep back into poor posture.
Final Word
A good desk set-up is one of the best long-term investments you can make in your health. It reduces stress on your spine, helps prevent neck and back pain, and improves productivity.
If you’re struggling with aches and pains despite making changes, our team at LivFit Physio Mornington can help with tailored treatment and exercise programs.
👉 Book your appointment today and give your body the support it deserves.